How to install your SPFx solution to SharePoint?

You have developed or got an SPFx solution, a Web Part, or an extension but you do not know how to deploy and install it on your environment? This post will explain to you the different ways to deploy and install this kind of solution quickly and easily on your SharePoint environment.
App Catalog
Once you have built or got an SPFx package (file with .sppkg extension), to allow all users of a site collection or all users of your SharePoint environment (whole Tenant) to use it, you have to add this one in an App Catalog.
The first thing you have to know is, who needs to have access to it. If all users in your organization need to have access to it, the best choice should be to deploy the component into the Tenant App Catalog. On the opposite, if only a couple of users needs to have access to it, you should deploy the component on one or several sites collections App Catalog that need it.
Tenant App Catalog
The first thing you have to know is, whatever the scope of visibility of your solution (Tenant or Site collection) you chose, you have to create a Tenant App Catalog and have sufficient rights to access it and manage the content (apps).
If you do not know if a Tenant App Catalog is already existing, you can directly check from the SharePoint API URL :
https://yourdomain.sharepoint.com/_api/SP_TenantSettings_Currentthe value is available from the XML node <d:CorporateCatalogUrl><d:CorporateCatalogUrl>
or you can use PnP PowerShell cmdlet:
Get-PnPTenantAppCatalogUrlor you can use Office 365 CLI command line:
spo tenant appcatalogurl get Site Collection App Catalog
If you chose this solution to deploy your package, you assume you indeed have a Tenant App Catalog and App Catalog on the target site collection.
To create a site collection App Catalog, there is no other way than to use PowerShell. You can use SharePoint PowerShell manager cmdlet:
Add-SPOSiteCollectionAppCatalog -Site https://yourdomain.sharepoint.com/sites/targetsitecollectionor PnP PowerShell cmdlet:
Add-PnPSiteCollectionAppCatalog -Site https://yourdomain.sharepoint.com/sites/targetsitecollectionor Office 365 CLI command line:
spo site appcatalog add --url https://yourdomain.sharepoint.com/sites/targetsitecollection[note]Note
The user account has to be SharePoint Administrator at least to create a site collection App Catalog
Install
[note]Note
If your solution provides a deployment script, you should first take into account the documentation written about it
Once:
- your App Catalog is ready
- you know the URL
- you can access it with sufficient permissions
you can follow the steps below:
- Get the
.sppkgfile (by building the solution or downloading the package directly if provided)
Manually
- Go to your site collection (Tenant App Catalog or target site collection)
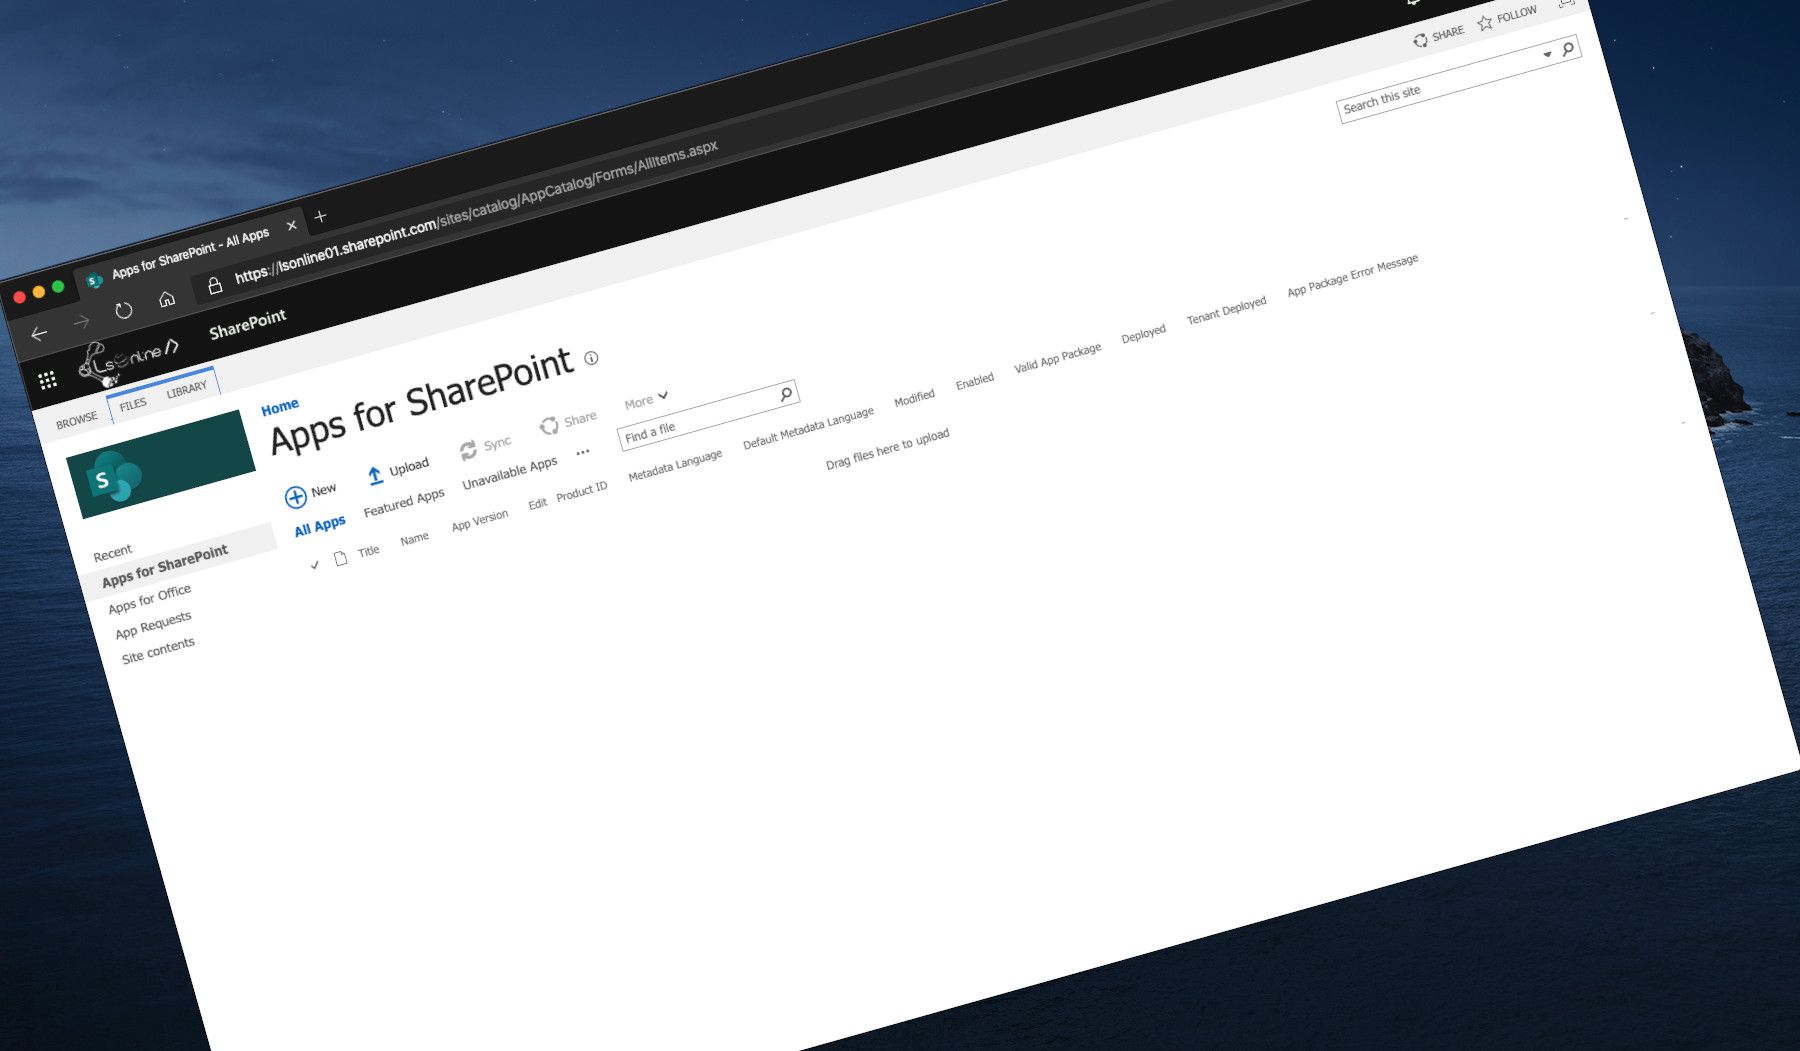
- Open the Apps for SharePoint library. The URL of the library is:
https://yourdomain.sharepoint.com/[sites/teams]/yoursitecollection/AppCatalog/Forms/AllItems.aspx - You can drag and drop the
.sppkgfile or click on Files › Upload Document
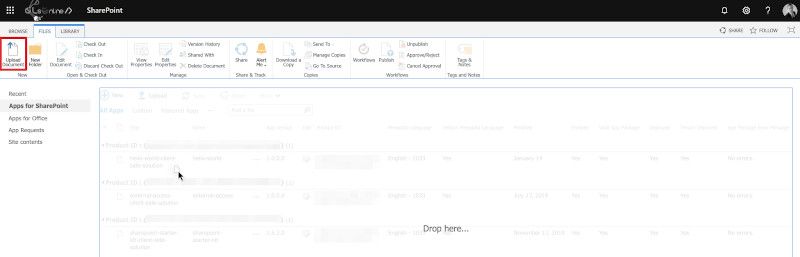
- Once uploaded, a dialog will appear. This dialog will allow you to deploy your solution after clicking on Deploy.
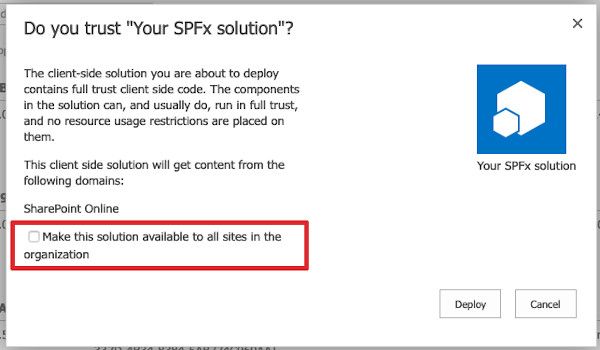
[note]Note
some solutions can be deployed and installed directly on all site collections in your Tenant if you check the checkbox "Make this solution available to all sites in the organization" (this option is only available if thepackage-solution.jsonhas the parameterskipFeatureDeploymentwith the value attrue)
If your solution was deployed and installed on all sites in your organization, then you can skip the next step.
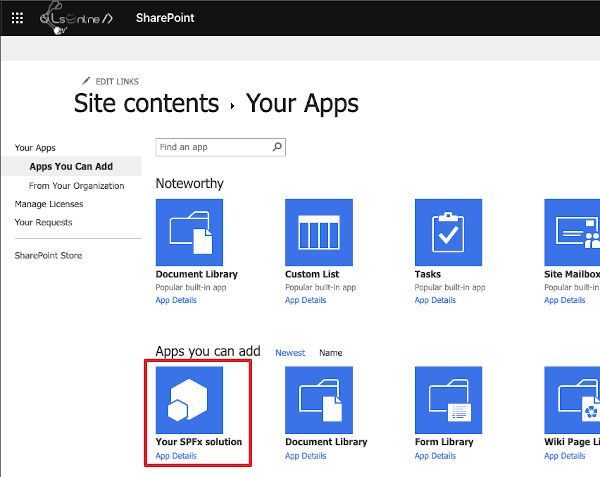
- Go to the SharePoint site collection that needs your solution. Add an app (from the gear located at the Microsoft 365 ribbon or from the Site Contents › New › App) and click on your solution
Once installed, you can see the instance of your solution from the Site Contents
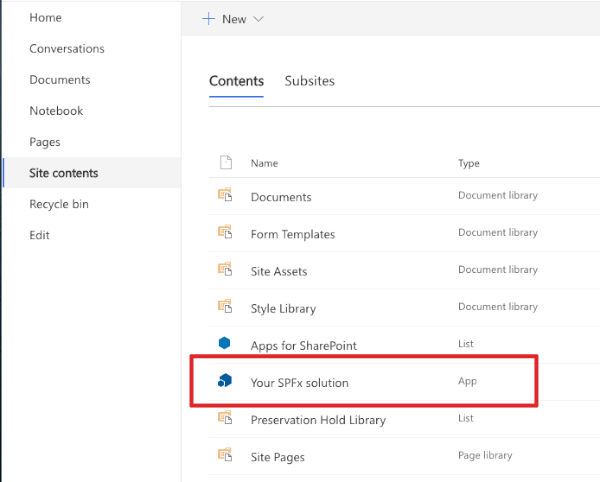
Now, your solution is ready to use. You have done ??
Programmatically
- Connect to the site collection that hosts your App Catalog with the PnP PowerShell cmdlet:
or with Office 365 CLI command line:Connect-PnPOnline -Url https://yourdomain.sharepoint.com/sites/yoursitecollectionspo login - Upload the package to the library with the PnP PowerShell cmdlet:
or with the Office 365 CLI command line:Add-PnPApp -Path ./yourapp.sppkgspo app add --filePath ./yourapp.sppkg --appCatalogUrl https://yourdomain.sharepoint.com/sites/yoursitecollection - Deploy the package with the PnP PowerShell cmdlet:
or with Office 365 CLI command line:Publish-PnPApp -Identity 00000000-0000-0000-0000-00000000000 -SkipFeatureDeploymentspo app deploy --id 00000000-0000-0000-0000-00000000000 --skipFeatureDeployment
[success]Tip
You can find the ID of your solution on thepackage-solution.jsonfile
[note]Note
The parameterskipFeatureDeploymentworks only if thepackage-solution.jsonof the package has value attrue
If your solution was deployed and installed on all sites in your organization, then you can skip the next step.
- Install your solution on the site collection(s) that need it with the PnP PowerShell cmdlet:
or with Office 365 CLI command line:Connect-PnPOnline -Url https://yourdomain.sharepoint.com/sites/targetsitecollection Install-PnPApp -Identity 00000000-0000-0000-0000-00000000000spo app install --id 00000000-0000-0000-0000-00000000000 --siteUrl https://yourdomain.sharepoint.com/sites/targetsitecollection
Now, your solution is ready to use. You are done ??
Developers
If your organization has deployed an SPFx component into the Tenant App Catalog, you can even use the site collection App Catalog to try your component in the same environment. The site collection App Catalog takes priority over the Tenant App Catalog.
Hoping this post will help you ?
You may also be interested in