How to request and expose your Elasticsearch engine for your Ghost blog

I recently wrote a post about implement Elasticsearch to allow your readers to search in the contents of your self-hosted Ghost blog "Elasticsearch as search engine for your Ghost blog". In this post, I will explain to you how to expose and use your search engine.
Expose your search endpoint with a reverse proxy
Based on my previous post, the Elasticsearch endpoint has its own URL. That means, if you want to use it in a production environment, all requests must be against another public URL. Example:
- The URL of your Ghost blog is:
https://blog.mydomain.com/ - The URL of your Elasticsearch server is:
https://elasticsearch.mydomain.com:9200/blog_search/post/_search
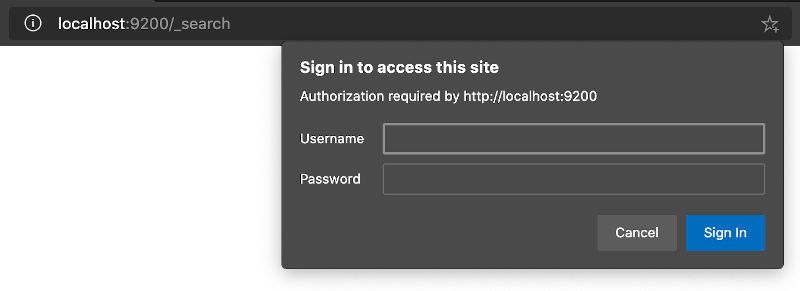
Some CORS security conflicts with the browsers may occur if you have another subdomain. Moreover, with a public Elasticsearch endpoint, it is possible to request all indexes of your search service. In this case, we only have /blog_search/ and if you want to use your engine with other services, that can be considered as a security leak. Example:
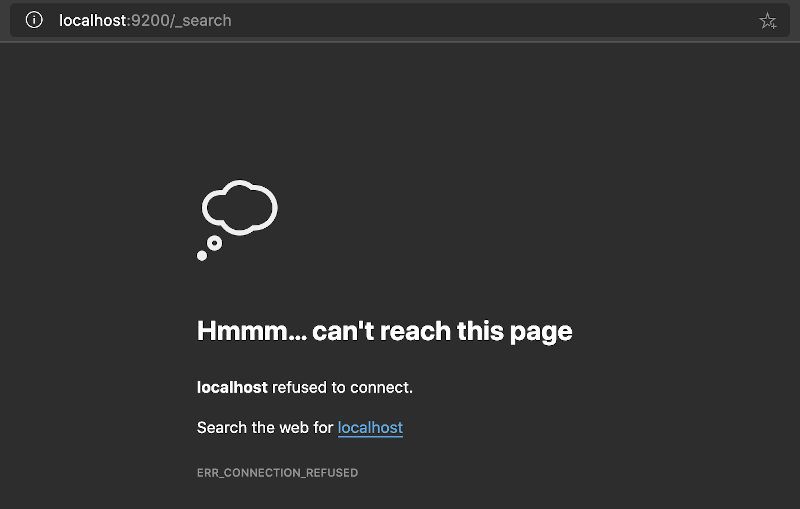
- If you use the URL https://elasticsearch.mydomain.com:9200/_search: you can access any index of your search
- If you use the URL https://elasticsearch.mydomain.com:9200/blog_search/_search: you can only access the index blog_search
Expose your Elasticsearch through a reverse proxy can help you to:
- Force the access to a specific index
- Redirect search queries from your blog URL to your Elasticsearch server
- Not directly expose your search endpoint on the internet
Docker Nginx Proxy
Thanks to the jwilder/nginx-proxy docker image, it is possible to host several docker containers on one physical server and to customize the configuration of the external access for all or per container.
Prerequisites
- A Docker internal network that allows connecting all containers with no external access (recommended). Example:
docker network create --driver=bridge --attachable --scope=local --internal --subnet=10.1.0.0/24 no-internet - A Docker network that allows access from the Internet (that can be the default one)
- A folder named
vhostthat will be mapped with thenginx-proxycontainer and that will contain custom location configurations (use a folder to store all configuration files is more flexible and maintainable than binding each configuration file)
Docker file
With these prerequisites in mind, here is the nginx-proxy compose file:
version: '3.7'

services:
  ghost-nginx-proxy:
    image: jwilder/nginx-proxy
    ports:
      - "80:80"
      - "443:443"
    volumes:
      - "/var/run/docker.sock:/tmp/docker.sock:ro"
      - type: bind
        source: ./vhost
        target: /etc/nginx/vhost.d
    networks:
      - no-internet
      - default
    restart: always

networks:
  default:
  no-internet:
    external:
name: no-internet[info]Important
It is important to note that the nginx container must have access to the default (internet) network and the local one (no-internet) too.
You can start the container:
docker-compose -f nginx-proxy-compose.yml up -dVirtual Host Location
It is time to create your location file myblog.mydomain.com_location that allows to redirect all requests to your Elasticsearch server:
# Search API delivered by ElasticSearch
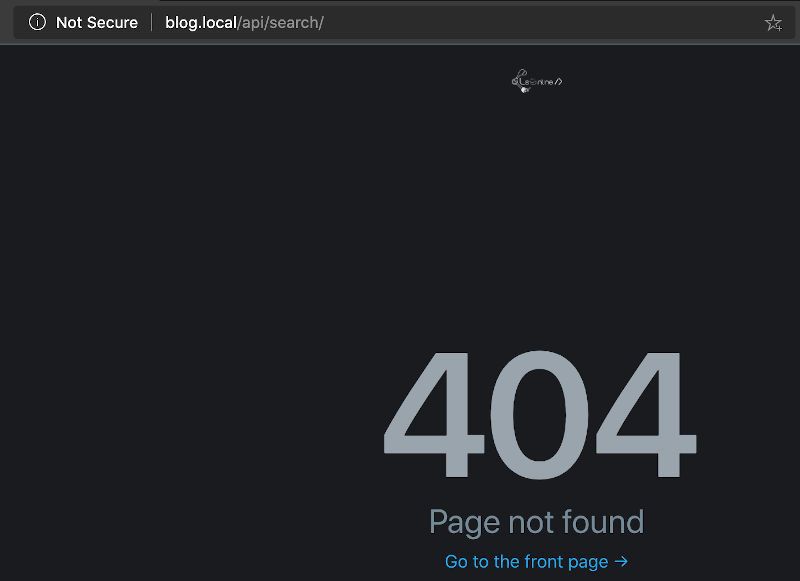
location ^~ /api/search {
proxy_set_header Host $http_host;
proxy_set_header X-Real-IP $remote_addr;
proxy_set_header X-Forwarded-For $proxy_add_x_forwarded_for;
proxy_set_header X-Forwarded-Proto $scheme;
proxy_http_version 1.1;
proxy_set_header Connection "Keep-Alive";
proxy_set_header Proxy-Connection "Keep-Alive";
proxy_pass http://ghost-elasticsearch:9200/blog_search/post/_search;
proxy_read_timeout 600;
}
- The file name must be named like your Ghost blog URL (same as the value of your VIRTUAL_HOST docker environment variable used by your Ghost blog container) and saved into your
vhostfolder - In this case, the endpoint will be /api/search.
That means if your blog URL ishttps://myblog.mydomain.com, your Elasticsearch endpoint will behttps://myblog.mydomain.com/api/search - The last important thing is the
proxy_passthat redirects all requests to your Elasticsearch and more particularly to the index of your blog search ?
Update your Elastic stack file
Based on my post Elasticsearch as search engine for your Ghost blog, I shared the docker-compose file for Elasticsearch with you. You must change the file to restrict the external network and specify the local network only:
version: '3.7'

services:
  ghost-elasticsearch:
    ...
    networks:
      - no-internet
    ...

  ghost-logstash:
    ...
    networks:
      - no-internet
    ...

networks:
  no-internet:
    external:
name: no-internetOnce the changes made, down and up your Elasticsearch container.
Ensure the following connexions between the servers:
- Elasticsearch <-> Logstash
- Logstash <-> Ghost blog database
- Ghost blog <-> Ghost blog database
- Nginx <-> Ghost blog
- Nginx <-> Elastisearch
Maybe a little schema to be clearer? Ok, here the new HTTP feed redirection:
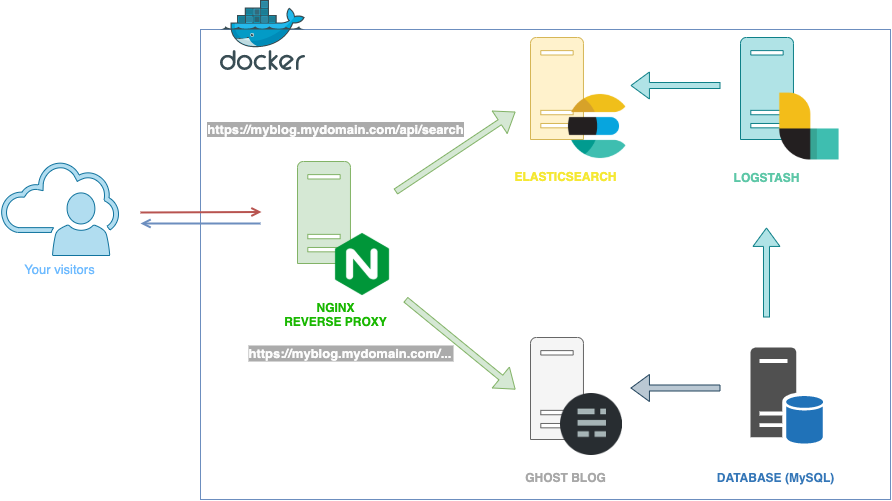
You are now ready to request your Elasticsearch on safe use ?
JavaScript code implementation
At this point, I am pretty sure you can not wait anymore to test your configuration and know how you can launch requests via JavaScript on your new search engine ?
Without further ado, the part of JavaScript to launch the requests against your search is:
function sendQuerySearch(keyword) {
/* Because we are using the same hostname, we can use relative URL */
var t = '/api/search';
var s = typeof XMLHttpRequest != 'undefined' ? new XMLHttpRequest() : new ActiveXObject('Microsoft.XMLHTTP');
/* Open an async POST request */
s.open('POST', t, true);
s.setRequestHeader("Accept", "application/json;odata=verbose");
s.setRequestHeader("Content-Type", "application/json");
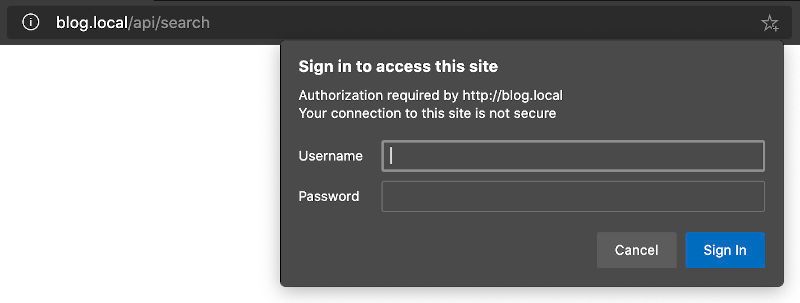
/* If you enabled the authentication on your Elastic search enable credentials */
s.withCredentials = true;
/* Use basic authentication
* elasticsearch_auth match with btoa("elastic:yourpassword");
*/
s.setRequestHeader("Authorization", "Basic " + elasticsearch_auth);
s.onreadystatechange = function () {
var status;
if (s.readyState == 4) { // `DONE`
status = s.status;
if (status == 200) {
/* retrieve the request answer */
var data = JSON.parse(s.responseText);
} else {
/* Something is wrong. Add console to see what is happening */
}
}
};
/* Body request */
var body = {
"size": 500,
"from": 0,
"query": {
"query_string": {
"query": keyword,
"default_operator": "AND"
}
},
"post_filter": {
"term": {
"status": "published"
}
},
"highlight":
{
"fields": {
"title": { },
"custom_excerpt": { }
}
}
};
/* Send the request against Elasticsearch api */
s.send(JSON.stringify(body));
}- size: number of results returned by the search engine. It can be increased or you can manage the pagination with the
fromproperty - from: return results of the search from a specific index
- query:
- query:
keywordthat corresponds to the search performed by the user (the value from the HTML input) - default_operator: the operator between each word of the search
- query:
- post_filter: filter the posts/pages by their status to return only published resources
- highlight: one of the powerful features of a real search engine is to return the fields with the highlighted words from the content in accordance with the search keywords
[note]Note
For more information about the Elasticsearch body request, see the documentation at https://www.elastic.co/guide/en/elasticsearch/reference/current/search-request-body.html
You are now ready to perform search requests and get the results from JavaScript.
What's next
In the next part, I will share with you how to implement a search interface that looks almost like the Ghost Admin one.
Hoping this post will help you ?
You may also be interested in