An approach to manage the versions of PnP PowerShell module

If you are a developer who uses PnP PowerShell module to deploy and configure your environment or your clients', you have certainly faced some issues to manage the versions of PnP PowerShell module with your scripts.
I will share with you an approach that I am using myself to use my current scripts and the old ones easier while dealing with the appropriate PnP PowerShell version.
Install module
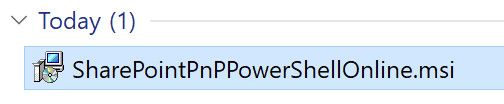
This first step is downloading a version of PnP PowerShell Module in accordance with your environment from the official GitHub repository:
SharePointPnPPowerShell2013.msi: for SharePoint 2013 On-Premise onlySharePointPnPPowerShell2016.msi: for SharePoint 2016 On-Premise onlySharePointPnPPowerShell2019.msi: for SharePoint 2016 On-Premise onlySharePointPnPPowerShellOnline.msi: for SharePoint Online only
Once downloaded, you can install it on your computer:
- Launch the executable (
.msifile)
- Accept the terms in the Licence Agreement and click on Advanced
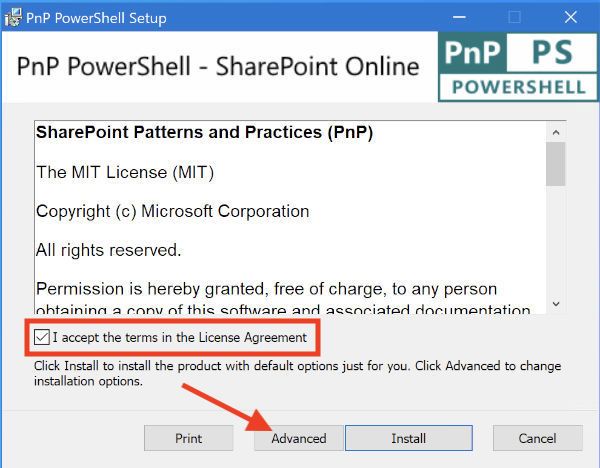
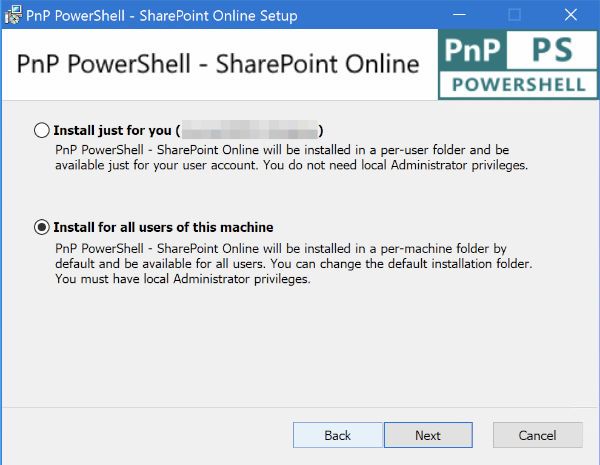
- Choose Install for all users of this machine (it is easier to retrieve the path of files)
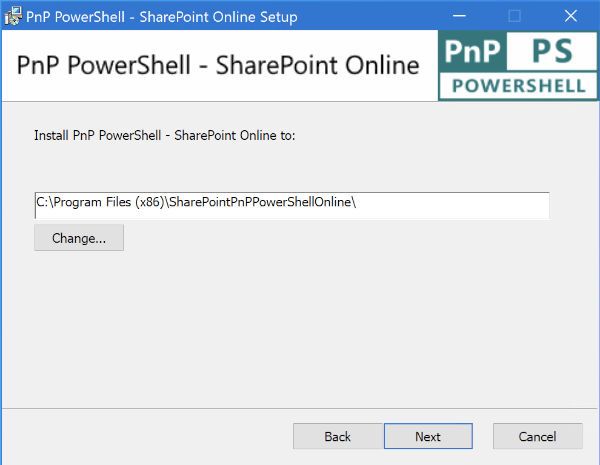
- If necessary, you can change the path of the PowerShell module, but I suggest you to keep the default path. Copy this one for later
- Now, click on Install then Finish
That's it! The PnP PowerShell module is now installed and available from a Windows PowerShell.
If you wish to change the version, you have to remove the current version and then download and install a new one. At this time, you can meet two issues:
- your version is not the latest one and you want to run the newest scripts that use some cmdlets that do not exist with your version - you have to uninstall the current version and install the latest one
- your version is the latest one and you want to run the oldest scripts - you can have some errors because some cmdlets do not exist anymore - you have to uninstall the current version and install the previous one in accordance with your script
In both cases, you then have to either uninstall the current version and use the same than previously to keep working, or update your scripts to work with this other version.
Manage version
Rather than uninstall and install another version of the PnP PowerShell module each time you need to change the version, you can keep each library locally and use the good one "On Demand".
In the previous chapter, the PnP PowerShell module setup has installed the library to C:\Program Files (x86)\SharePointPnPPowerShellOnline\ by default.
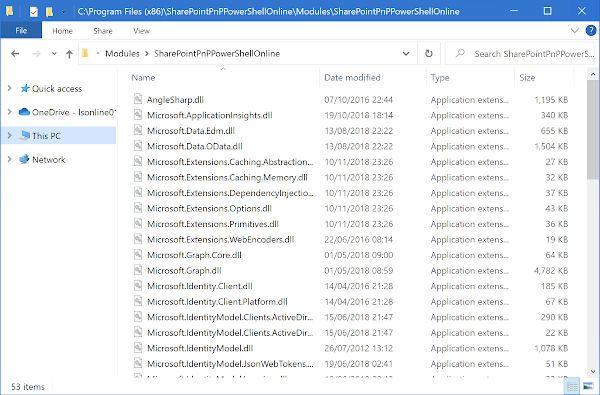
The idea is to copy all of the files from this folder to a new one.
To manage the versions easier, create a folder with this pattern for each version [YYYY][MM][-XX].
Examples:
- 202002: module released February 2020
- 202001-01: module released January 2020. This is an intermediate release, this is why I added
-01. Increase this number for each intermediate release in the same month of the year - 202001: module released January 2020
To access easily these folders, keep an easy path, without special char, no space, like:
C:\PnP\SharePointPnPPowerShellOnlineHere, an example of my "versioning" folders:

Use a specific version in your PowerShell session
Now that you have stored each version that you need, how could you use them?
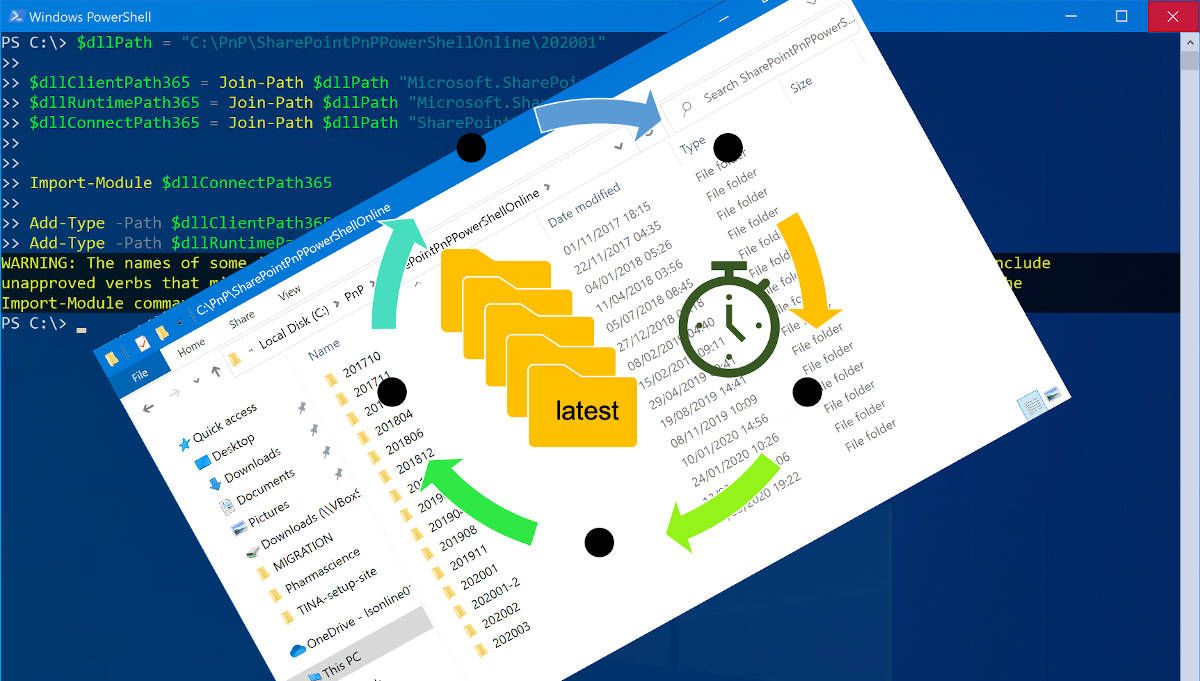
Before trying to execute some PnP cmdlets from PowerShell ISE or a Windows PowerShell, you have to add manually the module like this:
$dllPath = "C:\PnP\SharePointPnPPowerShellOnline\202001"

$dllClientPath365 = Join-Path $dllPath "Microsoft.SharePoint.Client.dll"
$dllRuntimePath365 = Join-Path $dllPath "Microsoft.SharePoint.Client.Runtime.dll"
$dllConnectPath365 = Join-Path $dllPath "SharePointPnP.PowerShell.Online.Commands.dll"

Import-Module $dllConnectPath365

Add-Type -Path $dllClientPath365
Add-Type -Path $dllRuntimePath365[warning]Warning
For the next versions (after July 2020) of PnP PowerShell , theSharePointPnP.PowerShell.Online.Commands.dllwas renamed toPnP.PowerShell.Online.Commands.dll
[info]Important
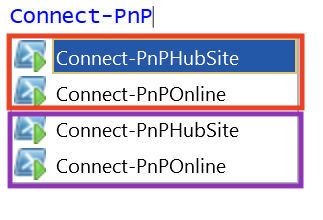
It is not recommended to run a PnP PowerShell script with two or more versions of the same module. That can generate some errors. Here an example after importing the module while an other version is installed on the computer:
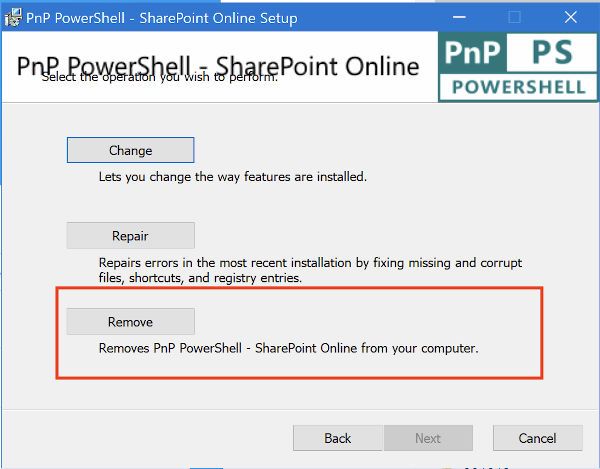
To avoid this kind of annoyance, please ensure you have uninstalled the version on your computer via the installer. To remove the version installed on your computer, follow the below steps or use the "Add or remove programs":
- Launch the executable (
.msifile)
- On the select operation section, choose Remove
At this point, you can execute PnP PowerShell cmdlets. If you want to switch the module version, close the current Windows PowerShell and reuse the code above by changing the $dllPath variable:
$dllPath = "C:\PnP\SharePointPnPPowerShellOnline\202003"Manage the Latest versions and your Packages
As you know, this module is deprecated and the latest versions can not be installed in the same way as the versions see above.
This part explains to you where you can found the latest versions, how to download them, and manage them without the .msi installer.
You may also be interested in