Creating a no code Contact Form for your SharePoint Intranet

Using the Microsoft 365 modern tools means having new methodologies and new approaches to exploit the maximum of the capabilities of these tools. Too often, when users' needs are here, the project owner asks the developers to code a new component without asking if something else can do the job.
I have seen a lot of code solutions to create a contact form on SharePoint and now the trend is to use PowerApps to avoid SharePoint Framework Web Part. PowerApps can require "too many" skills for a simple contact form but we agree that the result can be very interesting ?
In this post, I will show you another solution based on Microsoft Forms that allows to notify new form answers without email and to manage them as tasks to the IT or the support team behind the scene.
Create a Teams
By creating a team on Microsoft Teams, you are also creating an Office 365 Group. The Teams will act as a central of notifications for the IT or support teams and the Office 365 Group will allow attaching the other Microsoft 365 services that we will see below.
The first step, if you do not already have a private Teams dedicated to receiving the notifications and the other configurations below, it is highly recommended that you create a new one from scratch:
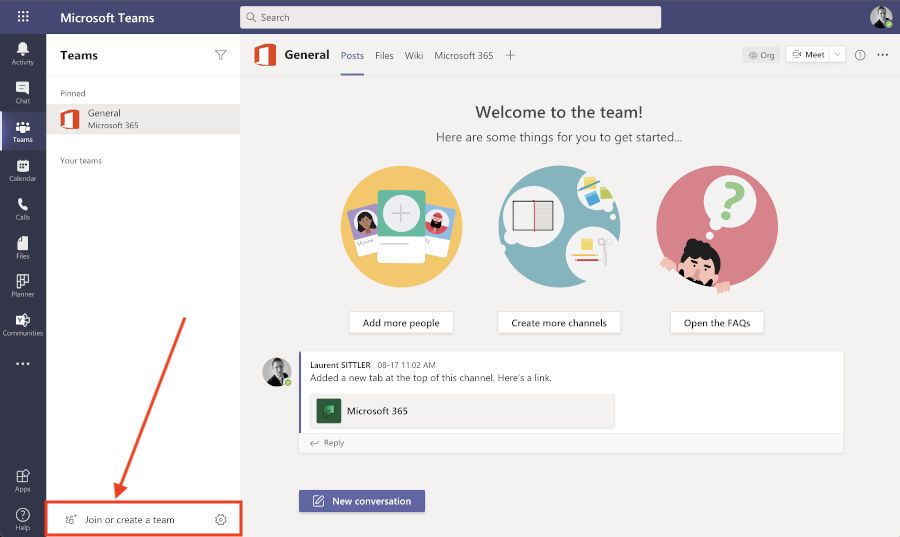
During the creating procedure, give a temporary name of the team like support-intranet. This name will be used to create the SharePoint site linked to the Teams as well as the email address:
- SharePoint site URL: https://contoso.sharepoint.com/[sites|teams]/support-intranet
- Email address: [email protected]
Channels
The final goal will be to notify the team every time a new answer was sent. To improve the communication, it is possible to create some channel by thematic. In our example, two channels were created:
- Dev: to notify all feedbacks about the bugs, features, etc.
- Support: to notify all support requests like accompanying and other things
Once created, you can rename your Teams, add the members and additional owners, change the logo, etc.
You are now ready for the next steps.
Create a new Forms
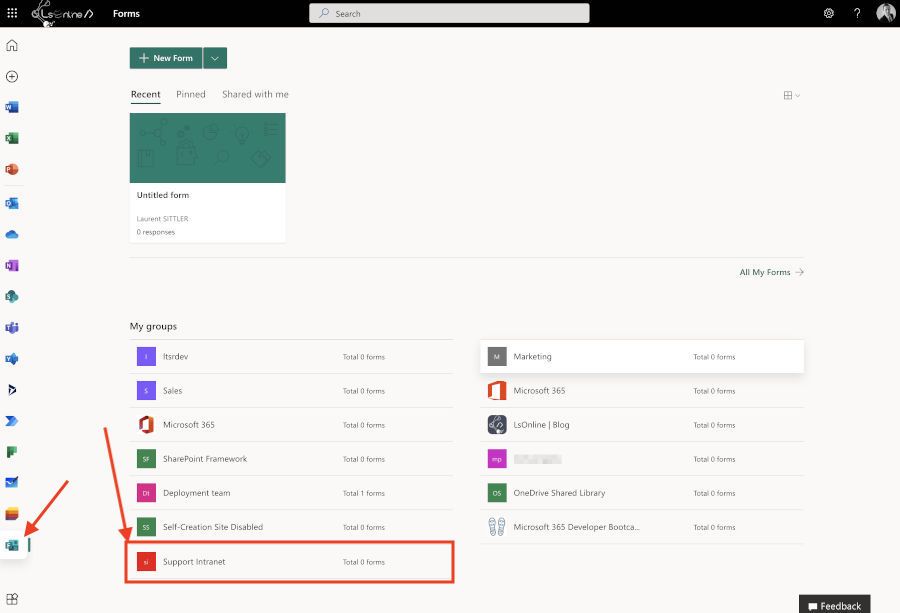
By default, when a user creates a Form, this one is linked to his account but it is also possible to create a Form for an Office 365 Group.
Create a Group Form
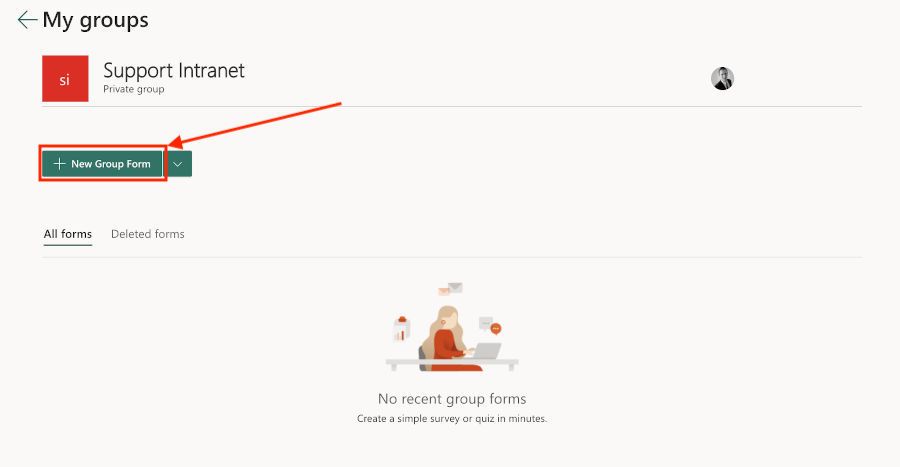
To create a Forms linked to an Office 365 Group, find and select the target Office 365 Group from Microsoft Forms:
Then, click on New Group Form:
Configure the First Section
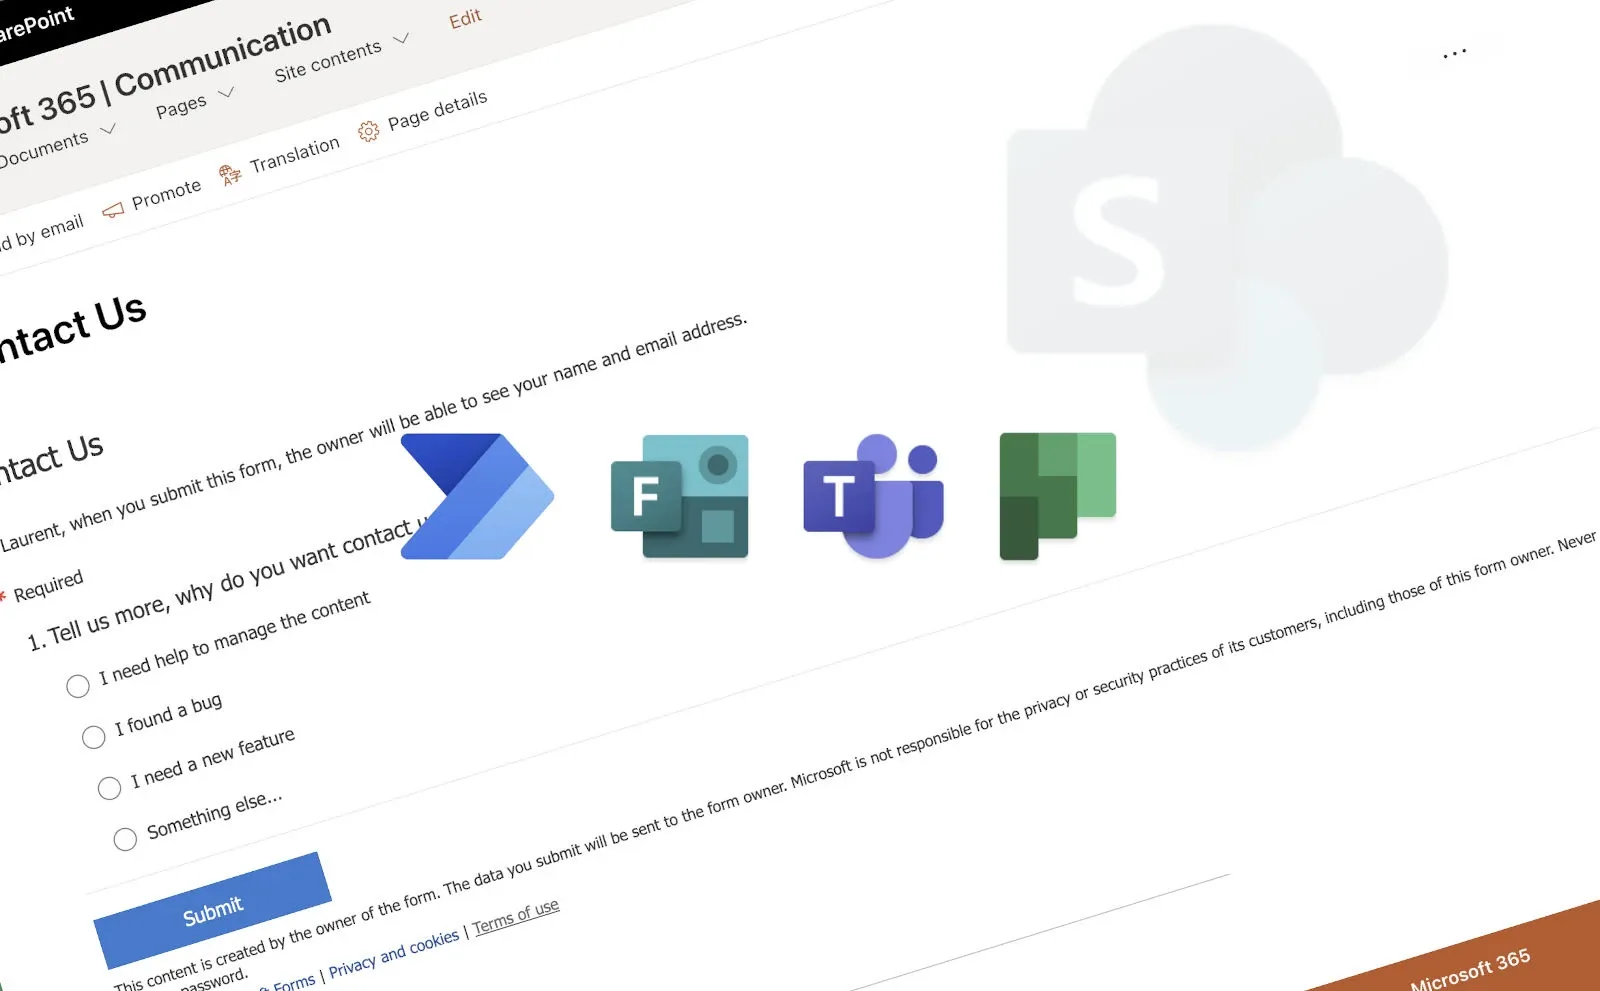
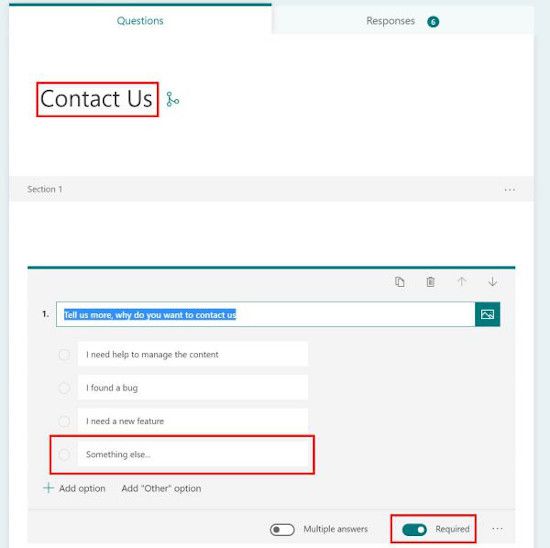
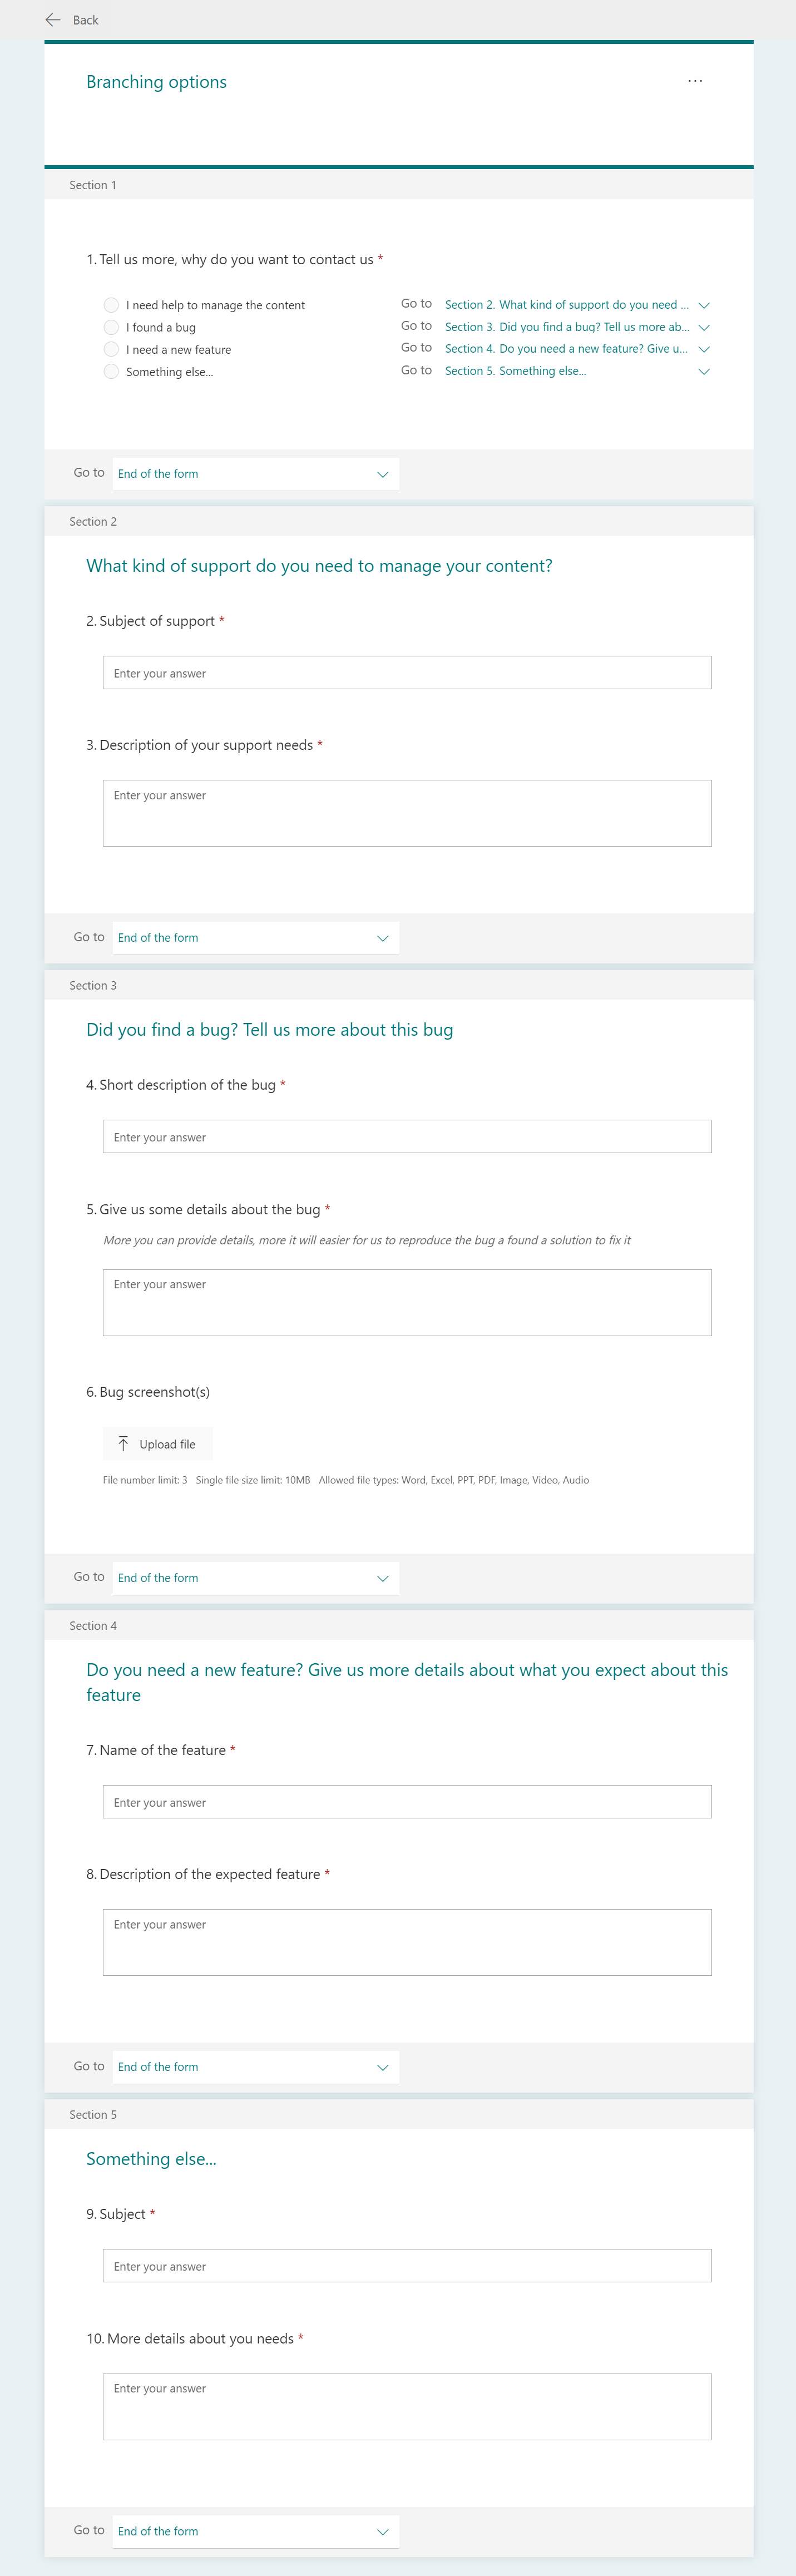
The first section will act as a router in accordance with the choice of the user:
- Add a form title and optionally a description
- Add a choice action named "Tell us more, why do you want to contact us" and add options. Note that, the latest option should allow the user to detail a custom choice that does not exist:
- If you click on Add "Other" option, the user can type directly a custom option
- If you choose another name "Something else...", we can redirect the user to another part of the form that allows the user to specify the subject and details (that is the scenario chosen here)
- Ensure that the chosen action is required
- Multiple answers must be disabled
Create Form Sections
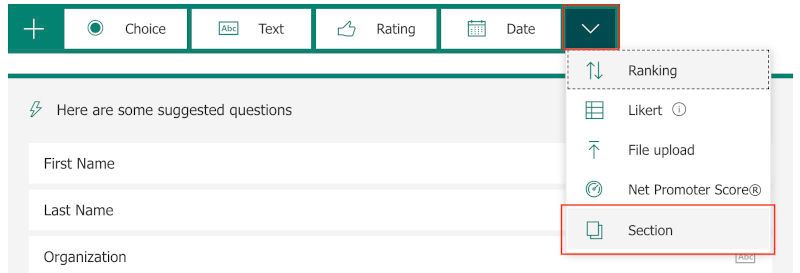
Once the first section is created, you can create as many sections as the number of available options by performing the following steps:
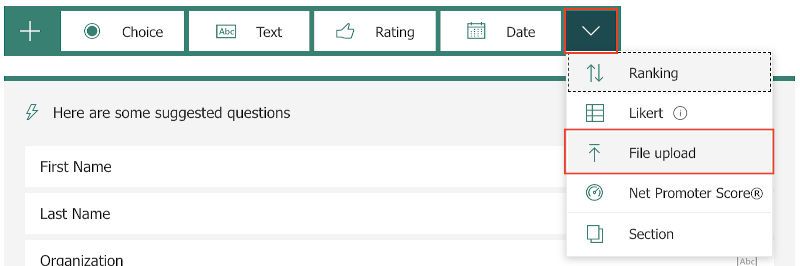
- Click on Add new
- Click on the down arrow
- Click on Section
Create a Bug Section
Compared to the other sections, the bug one should have a File Upload field to allow sharing the screenshots to help the support to reproduce the bug and fix it.
When this kind of field is used for a personal form, the attachments are uploaded into OneDrive in a specific folder Apps > Microsoft Forms > File Upload > Question.
Questionmatches with the File Upload question- If you add another File Upload field, the folder will be named
Question1, etc. Even if you rename the File Upload field, the target folder keeps the same name.
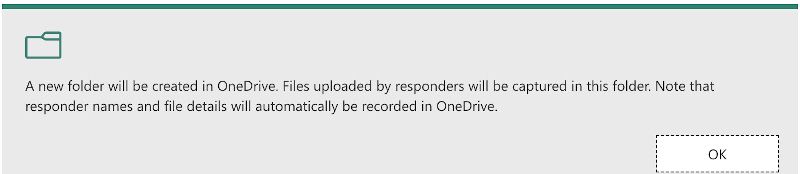
When you use a File Upload field with a Form Group, all files will be uploaded into the default Documents library (Shared Documents) and in the Apps > Microsoft Forms > File Upload > Question subfolder.
It is possible to configure the behavior of the "Upload File" field by:
- Adding a limit of files to upload (3 files is not bad)
- Specifying the limit of size per file
- Specifying the expected file type (by extension). If not specified, all types of files are allowed
- This field should not be required
[info]Important
Once this kind of field is used into a form, only the people in your organization can respond to the form
Add Branches
The branches will allow redirecting the user to another section of the form in accordance with the scenarios such as those illustrated in this example:
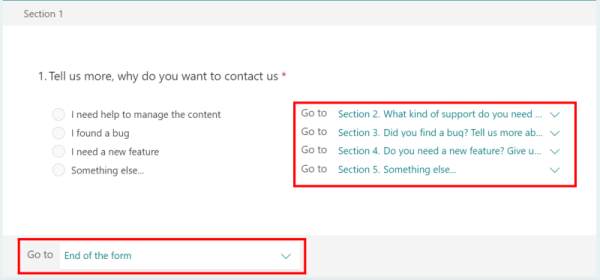
- I need help to manage the content -> Section "I need help to manage the content" -> End of the form
- I found a bug -> Section "Did you find a bug? Tell us more about this bug" -> End of the form
- I need a new feature -> Section "Do you need a new feature? Give us more details about what you expect about this feature" -> End of the form
- Something else... -> Section "Something else..." -> End of the form
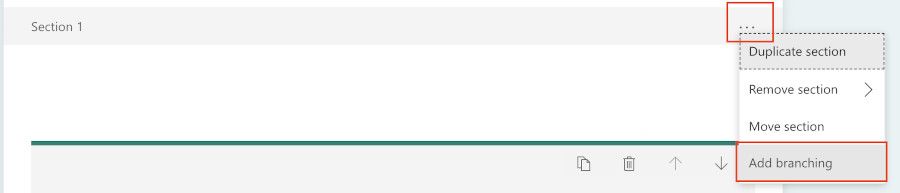
To manage the branches, you must click on the ellipsis visible at the top-right corner of each section, then click on Add branching
[info]Important
Each section must be configured to go to End of the form
Contact Form Overview
[info]Important
Do not create a field more than once with the same name. If you have several times the same field name, that will be harder to determine which field is which one.
Planner
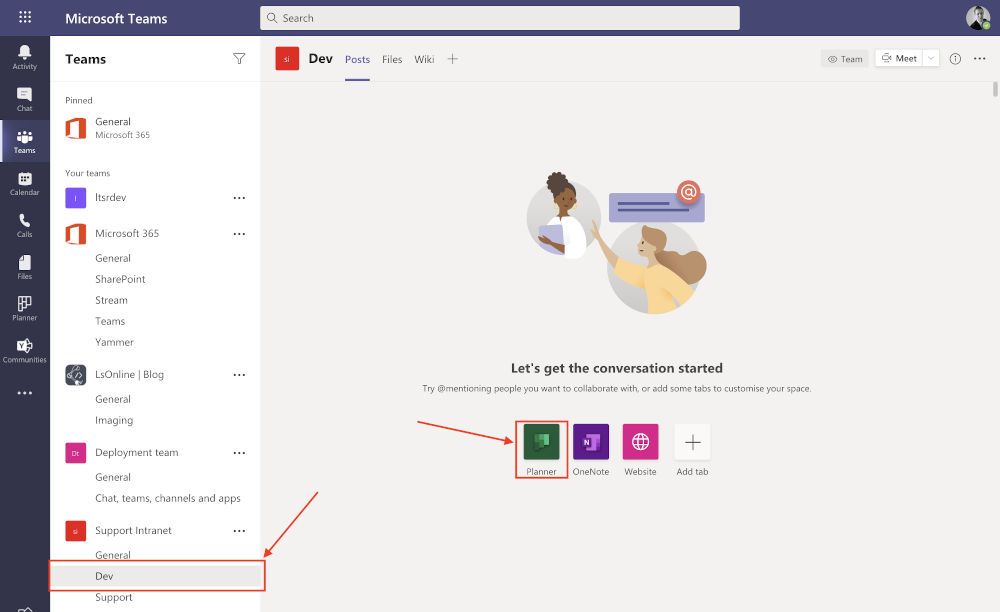
To create a Planner combined to a Unified Group / our Teams (Office 365 Group), go to a channel of your Teams and click on the Planner icon:
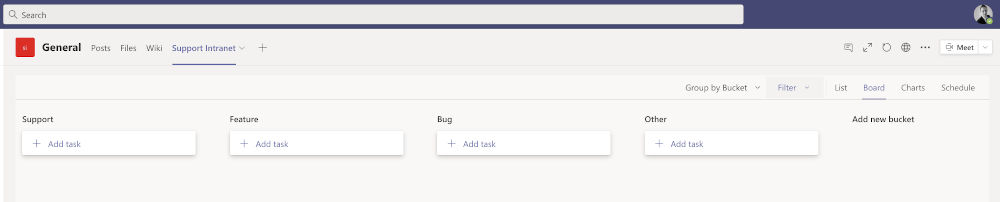
Buckets
Once your Planner is ready, create four or more buckets that will allow organizing the answers in accordance with the selected subject at the first section of our Contact form:
- Support
- Feature
- Bug
- Other
Create a Team Flow
In accordance with the Contact form answers, all the logic lies in Power Automate.
The flow will allow the creation of the notifications into the Teams channel and create the Planner tasks.
You may also be interested in