How to Deploy & Manage your Ghost Theme with any Pipeline

Ghost is a free and open-source blogging platform. You can use the default, an existing free or paid theme, or build your own one.
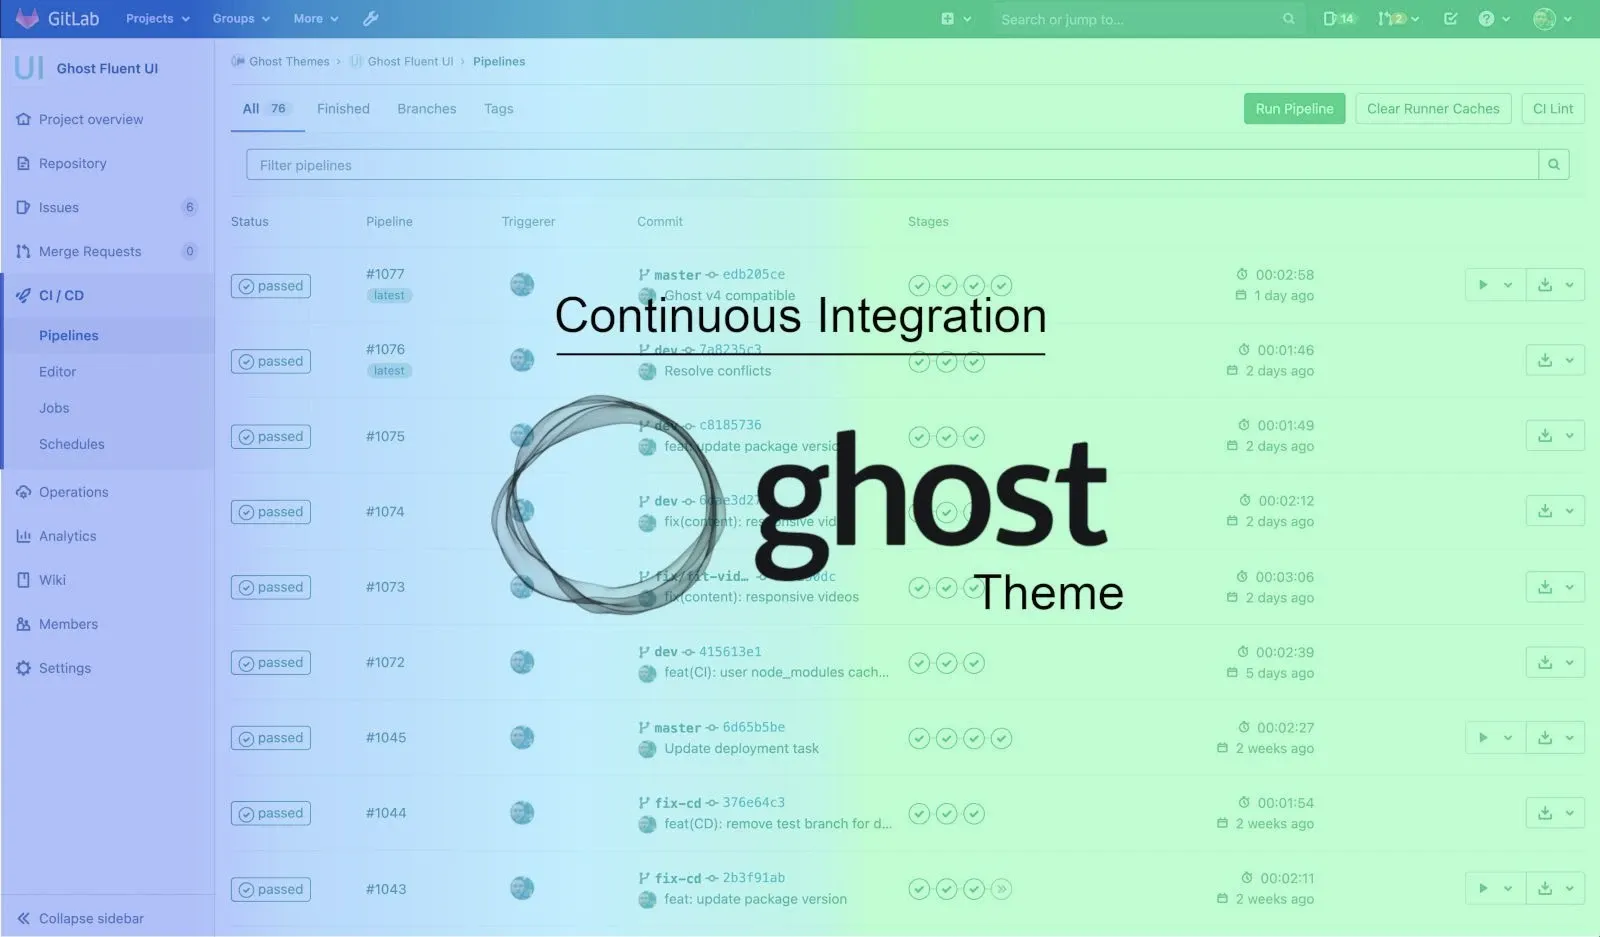
If you are reading this post, it is because you are thinking of using Ghost or you are already using it and you are looking to implement a Continuous Integration of your theme.
To deploy a Ghost theme, exists several ways to achieve this goal.
Manually deployment
This method is really easy and can be considered if you choose to use a paid theme or a free one that is not frequently updated.
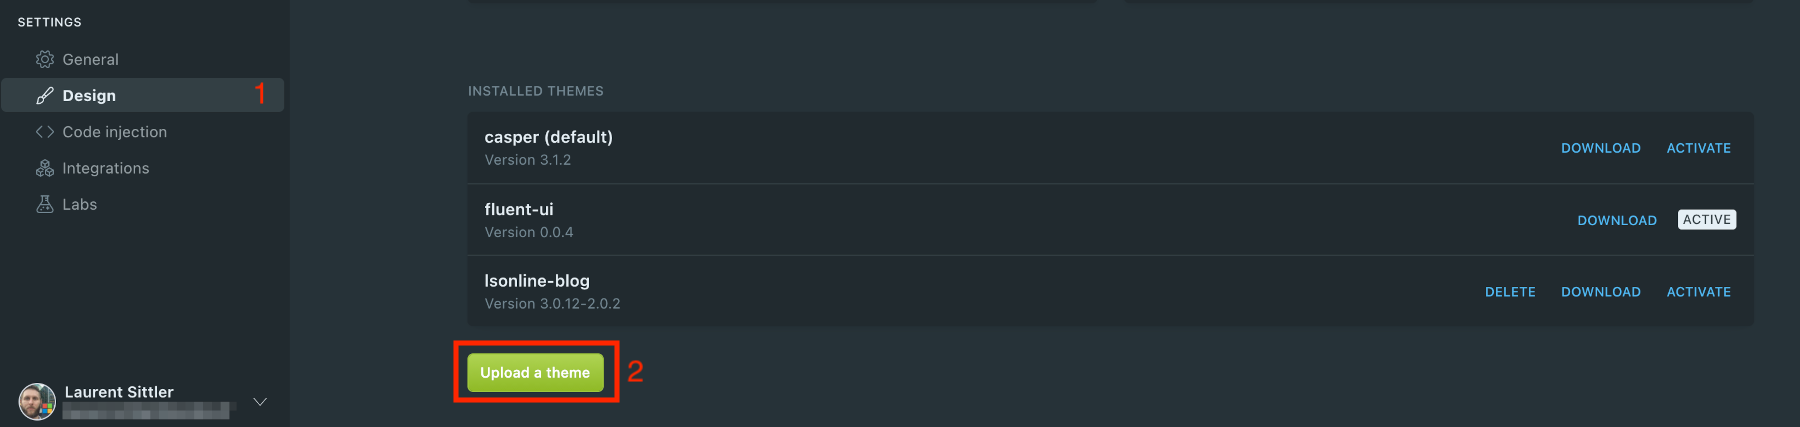
This method consists of uploading the package (zip file) for each new version of the theme via the Ghost admin interface to overwrite the previous one:
As you can imagine, if you choose to deploy frequently your own theme, this method can become quickly tedious.
Use FTP access to Update Files
When I created my first Ghost theme, I created the first version and uploaded it to my Ghost blog. I quickly understood that it will not be possible to upload a new version manually for each change especially at the beginning; when you create a new theme, you will improve it and fix several little issues.
Once you upload your theme, Ghost creates a folder located at /var/lib/ghost/content/themes/<YOUR_GHOST_THEME_FOLDER>/ (when you use the Docker image).
Once the folder is created, it is possible to change each file directly into this folder to update your theme. With this information in mind, you can create FTP access to this folder and create a pipeline, a scheduled task, a flow, or whatever to upload the new versions of the files into this folder directly.
One more thing ☝? In production mode, template files are loaded and cached by the server. For any change in a hbs file to be reflected, you must restart your Ghost service by command line or by restarting your Docker container.
GitHub Action
As a developer, you use a repository to store your code and the versions of it ☺️
If this repository happens to be stored into GitHub, the Ghost team has created a GitHub Action to set up a simple continuous integration of your Ghost theme to deploy it directly to your Ghost website ??

This method is the best way to update your Ghost theme automatically without any additional manual action. But, what happens if you are not using GitHub? Let's see the last part of my post ?
Use Ghost API

Whatever the environment on which you are working, GitHub, GitLab, DevOps, etc. from the moment you can trigger a pipeline it is possible to create a Continuous Deployment and update automatically your Ghost theme quite easily.
Based on the Gulp file available on the Casper theme, it is easy to add a npm task to deploy your theme. The most important part before deploying a theme package is the zip task.
Create a Zip
To create the zip package, execute the npm command below:
npm run zipAdd Deploy Task
To add the deployment task, you must edit the gulpfile.js by adding:
...

async function deploy(done) {
    try {
        const url = process.env.GHOST_API_URL;
        const admin_api_key = process.env.GHOST_ADMIN_API_KEY;
        const themeName = process.env.THEME_NAME || require('./package.json').name;
        const apiVersion = process.env.API_VERSION || require('./package.json').engines['ghost-api'];
        const zipFile = `dist/${themeName}.zip`;
        const api = new GhostAdminApi({
            url,
            key: admin_api_key,
            version: apiVersion
        });

        await api.themes.upload({ file: zipFile });
        await api.themes.activate(themeName);
        done();
    } catch (err) {
        handleError(done);
    }
}

...

exports.deploy = deploy;This JavaScript function allows you to upload the Ghost theme zip file and activate this one.
[note]Note
Create the zip file is a prerequisite. To ensure the task that allows to create the zip file has been executed, it is possible to change the export byexports.deploy = series(zip, deploy);
[info]Important
This sample uses the Ghost v4 API
Then, edit the package.json file by adding a new scripts node:
...
"scripts": {
    ...
    "deploy": "gulp deploy"
},
...Environment variables
To deploy the theme into your Ghost site, you must specify some environment variables for your pipeline:
- GHOST_API_URL: this is the URL of your Ghost site. Example:
https://blog.mydomain.com - GHOST_ADMIN_API_KEY: this is an Admin Key generated from the Ghost admin interface (as explained from the GitHub Action)
Once your zip file is ready and your variables defined, you can launch the deployment from your pipeline by executing the npm command below:
npm run deployTest locally
Now that your solution can be deployed from a pipeline, here is a solution to test the deployment locally.
The best way is to create a .env file at the root folder of the solution with the following content:
GHOST_API_URL=http://fluent-ui.local
GHOST_ADMIN_API_KEY=<YOUR_KEY>To manage .env file, it is necessary to install dotenv module and add some lines into the gulpfile.js.
First of all, install the new dev dependency:
npm i dotenv --save-devTo be able to read the .env file, add the following lines under all imports:
const path = require('path');

const ENV_FILE = path.join(__dirname, '.env');
const env = dotenv.config({ path: ENV_FILE });Last one thing! it is necessary to update the deploy task from gulpfile.js like this:
async function deploy(done) {
    try {
-       const url = process.env.GHOST_API_URL;
+       const url = process.env.GHOST_API_URL || env.parsed.GHOST_API_URL;
-       const admin_api_key = process.env.GHOST_ADMIN_API_KEY;
+       const admin_api_key = process.env.GHOST_ADMIN_API_KEY || env.parsed.GHOST_ADMIN_API_KEY;
        const themeName = process.env.THEME_NAME || require('./package.json').name;
        const apiVersion = process.env.API_VERSION || require('./package.json').engines['ghost-api'];
        const zipFile = `dist/${themeName}.zip`;
        const api = new GhostAdminApi({
            url,
            key: admin_api_key,
            version: apiVersion
        });

        await api.themes.upload({ file: zipFile });
        await api.themes.activate(themeName);
        done();
    } catch (err) {
        handleError(done);
    }
}Here you go! You just have to launch the following command to deploy the theme manually:
npm run zip
npm run deploy
I am using this solution for my own Ghost theme. You can find this configuration on my repo, here:

Happy deployment ???
Hoping this post will help you ?
You may also be interested in